
Creating images with transparent backgrounds is an essential skill for graphic designers, particularly in the areas of logo creation, web design, and any artwork intended to be placed over varied background colors or images.
This guide is tailored to be easy to understand for newcomers to graphic design, aimed at guiding you through the process of making backgrounds transparent in various popular software.
Whether you have a penchant for vector design or a task requiring a simple logo insertion, this guide will walk you through the necessary steps for several applications.
Remember, to preserve your transparency when you export or save a file, make sure to always save your image as a PNG.
How to Make a Transparent Background in Canva
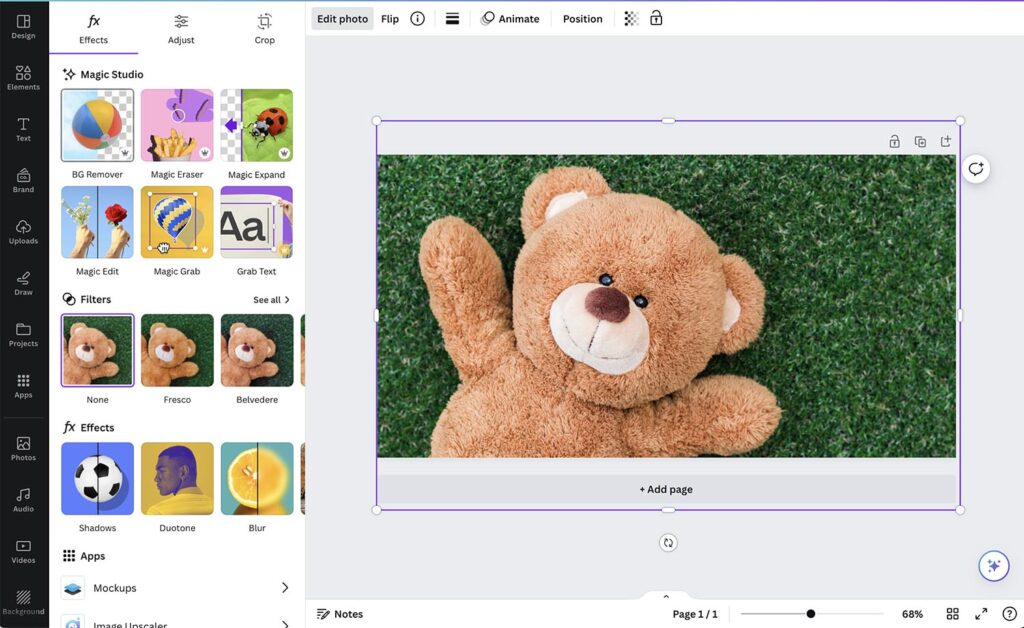
Canva’s user-friendly interface makes creating transparent backgrounds straightforward, even for those with limited design experience.
- Open or create your design in Canva.
- Select the photo whose background you want to make transparent. Click Edit Photo, typically located in the menu bar above your canvas.
- Select BG Remover.
- When saving your image, ensure you download it as a PNG file, which supports transparent backgrounds.
How to Make a Transparent Background in Photoshop
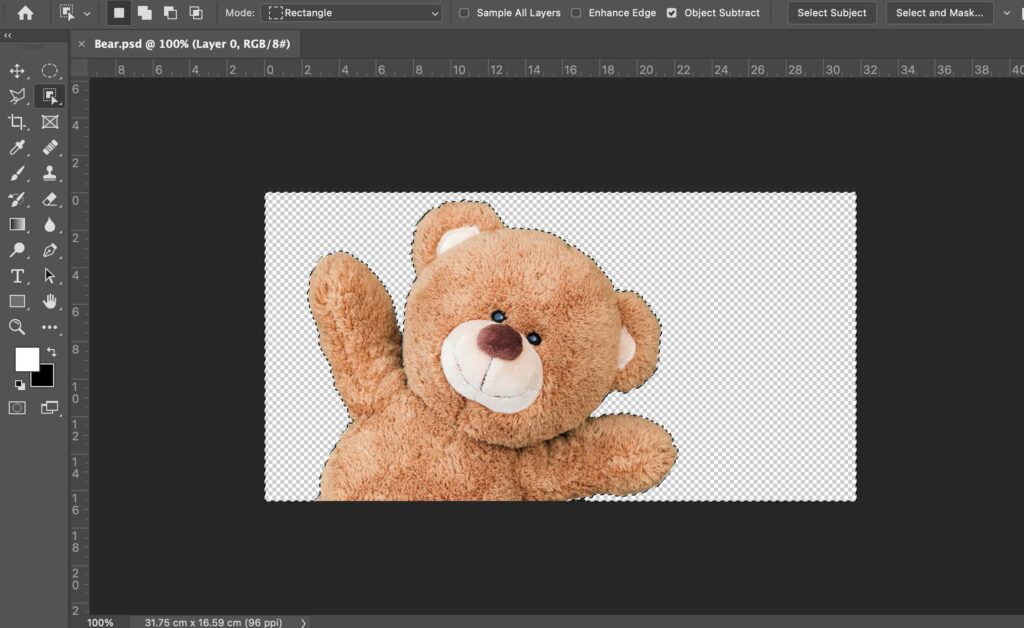
Photoshop offers a more controlled and professional approach to creating transparent backgrounds.
- Open your image in Photoshop.
- Use the Magic Wand or Quick Selection tools to select the background. For a more precise cutout, use the Pen tool.
- Once selected, hit ‘Delete’ to remove the background, revealing the gray-and-white checkerboard pattern that signifies transparency.
- Remember to export your file as a PNG to maintain its transparency.
How to Make a Transparent Background in Illustrator
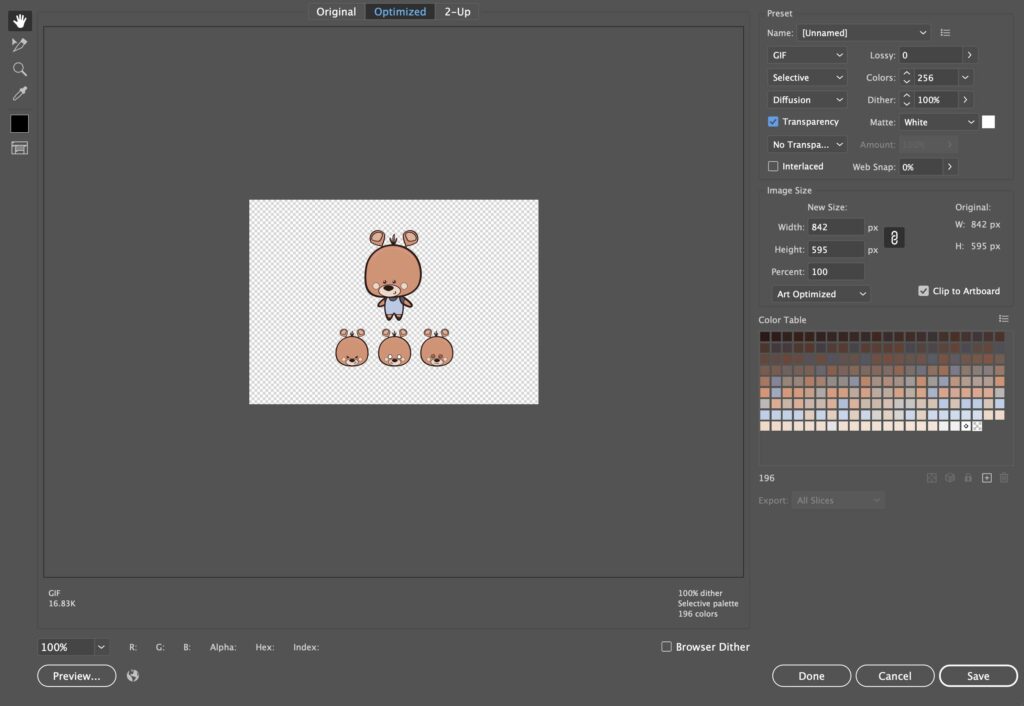
Being a vector-based tool, Illustrator is ideal for creating scalable logos and graphics with transparent backgrounds.
- Open your vector image in Illustrator.
- If your image has a background, lock your main layer and create a new layer. Use the selection tools to delete the background from this new layer.
- With the background removed, save your file. Choose ‘Export,’ select PNG format, and ensure that the ‘Background Color’ option is set to ‘Transparent.’
How to Make a Transparent Background in Procreate
Procreate is a favorite amongst digital artists, especially for raster-based illustrations with transparent backgrounds.
- Open or create your artwork in Procreate.
- Hide the background layer by unchecking the background layer box.
- Export your artwork from the ‘Actions’ menu, selecting Share > PNG, which will save your image with a transparent background.
How to Make a Transparent Background in Paint
Microsoft Paint is quite basic, but you can still create images with transparent backgrounds.
- Open Paint and create a new image with a white or solid color background.
- Use the ‘Select’ tool to choose the rectangular selection option. Select your object, right-click, and choose ‘Cut.’
- Open a new Paint window, select ‘Properties,’ and choose ‘Transparent Canvas.’
- Paste your cutout into this new window.
How to Make a Transparent Background in PowerPoint
PowerPoint can serve as an unlikely but practical tool for this task, ideal for presentations and simple graphic edits.
- Open PowerPoint and insert the image into a slide.
- Click on the image and select ‘Format Picture.’
- Navigate to ‘Picture Transparency’ and adjust the slider until the background becomes transparent.
- Right-click on the image and choose ‘Save as Picture,’ saving it as a PNG file.
Wrapping up
Creating transparent backgrounds can seem tricky at first, but with practice and the use of different software tools, it becomes a fundamental skill in your design toolkit.
Keep experimenting, and don’t forget the magic lies in saving your artwork in the correct format – PNG to preserve the transparency.
Happy designing!


